
VHS Conversion in Toronto: The Ticking Clock on Your Memories

Tapes are deteriorating and VCRs are vanishing. VHS conversion (Toronto) is so important, this may be your last practical window to convert irreplaceable memories. Choose DIY for large collections or professional services for precious footage before it’s too late.
Last weekend, while cleaning out your parents’ garage, you discovered it—a dusty box filled with VHS tapes labelled in faded marker: “Sarah’s First Steps,” “Christmas 1994,” “Our Wedding Day.” You felt a rush of excitement, imagining revisiting these precious moments. Then reality hit: your VCR broke years ago, and even if you found one, would those tapes still play?
You’re not alone. Millions of families are sitting on irreplaceable memories trapped in an obsolete format that’s literally disintegrating. VHS tapes degrade every year, with magnetic particles flaking off and environmental factors like humidity accelerating their demise. Meanwhile, working VCRs have become scarce relics, with repair costs skyrocketing and replacement parts virtually extinct.
Here’s the uncomfortable truth: this year may be your last practical opportunity to save these memories. The window for affordable, accessible VHS conversion is closing as equipment disappears and tapes deteriorate beyond recovery.
But there’s good news.VHS conversion has never been more straightforward, whether you tackle it yourself or hire professionals. This guide will walk you through everything you need to preserve your family’s legacy—before it’s too late.
The Deterioration Timeline
VHS tapes weren’t designed to last forever. The magnetic tape inside each cassette degrades naturally over time, with oxide particles literally falling off the plastic backing. After 20-30 years—the age of most family tapes today—this deterioration accelerates dramatically. Each playback causes additional wear, potentially erasing fragments of your memories with every viewing.
Environmental conditions make matters worse. Tapes stored in attics, basements, or garages face humidity that breeds mold, temperature fluctuations that warp plastic components, and dust that clogs the delicate mechanics. That musty smell when you open an old tape box? That’s often mold—and it can render footage unwatchable or even destroy your VCR’s heads.
The Equipment Crisis
Even if your tapes survive, finding equipment to play them is increasingly challenging. Major manufacturers stopped producing VCRs over a decade ago, and working units are now collectables commanding premium prices. Repair technicians who understand VHS technology are retiring, and replacement parts are scavenged from dead machines.
This scarcity creates a vicious cycle: waiting to convert your tapes means you’ll face higher costs and fewer options when you finally decide to act.
The Digital Advantage
Converting to digital transforms your memories from fragile hostages into accessible treasures. Digital files don’t degrade, can be backed up infinitely, and live on devices you already own. Imagine texting your siblings a clip from your childhood birthday party, or video-calling your parents to watch their wedding footage together across the miles.
Digital formats also enable enhancement—adjusting brightness, removing scratches, or creating highlight reels for special occasions. Most importantly, you gain peace of mind knowing these irreplaceable moments are protected from fire, flood, or simply the passage of time.
The question isn’t whether to convert your VHS tapes—it’s whether you’ll act before it’s too late.
DIY Conversion: When It Makes Sense
Taking the DIY route makes financial sense if you’re staring at a substantial collection. With 20 or more tapes, the upfront equipment investment—typically $100-$300—quickly pays for itself compared to professional services charging $15-$40 per tape. A collection of 30 tapes could cost you $450-$1,200 with professionals, versus a one-time $200 equipment purchase for DIY.
Beyond economics, DIY offers complete control. You decide the exact format, resolution, and file structure. Want to capture everything including the grainy home commercials? Keep it. Prefer to edit out the static between scenes? That’s your call. For the technically comfortable—those who’ve installed software or connected home theater equipment—the learning curve is manageable, requiring an afternoon rather than a computer science degree.
The trade-off? Time. Each tape must play in real-time, meaning a two-hour tape takes two hours to capture, plus setup and editing. Budget 20+ hours for a modest 10-tape collection.
Professional Services: When to Outsource
Professional conversion shines for small batches, damaged materials, or anyone valuing convenience over cost savings. Like our service, you simply mail your tapes and receive digital files weeks later on USB drives, DVDs, or via cloud download.
The real advantage lies in their restoration capabilities. Professionals employ colour correction, audio enhancement, and frame stabilization that consumer equipment can’t match. For irreplaceable content—your parents’ wedding, once-in-a-lifetime events—this quality difference matters. They also have experience with damaged tapes, knowing when content is salvageable and possessing specialized equipment for problematic footage.
Expect turnaround times of 2-6 weeks depending on season and service tier, with rush options available at premium prices.
Making Your Decision, The Hybrid Approach
Consider a strategic combination: use professionals for your most precious or damaged tapes where quality is paramount, then DIY the rest of your collection once you’ve safeguarded the crown jewels. This approach balances cost, quality, and peace of mind—ensuring nothing irreplaceable is lost to a learning curve mistake.
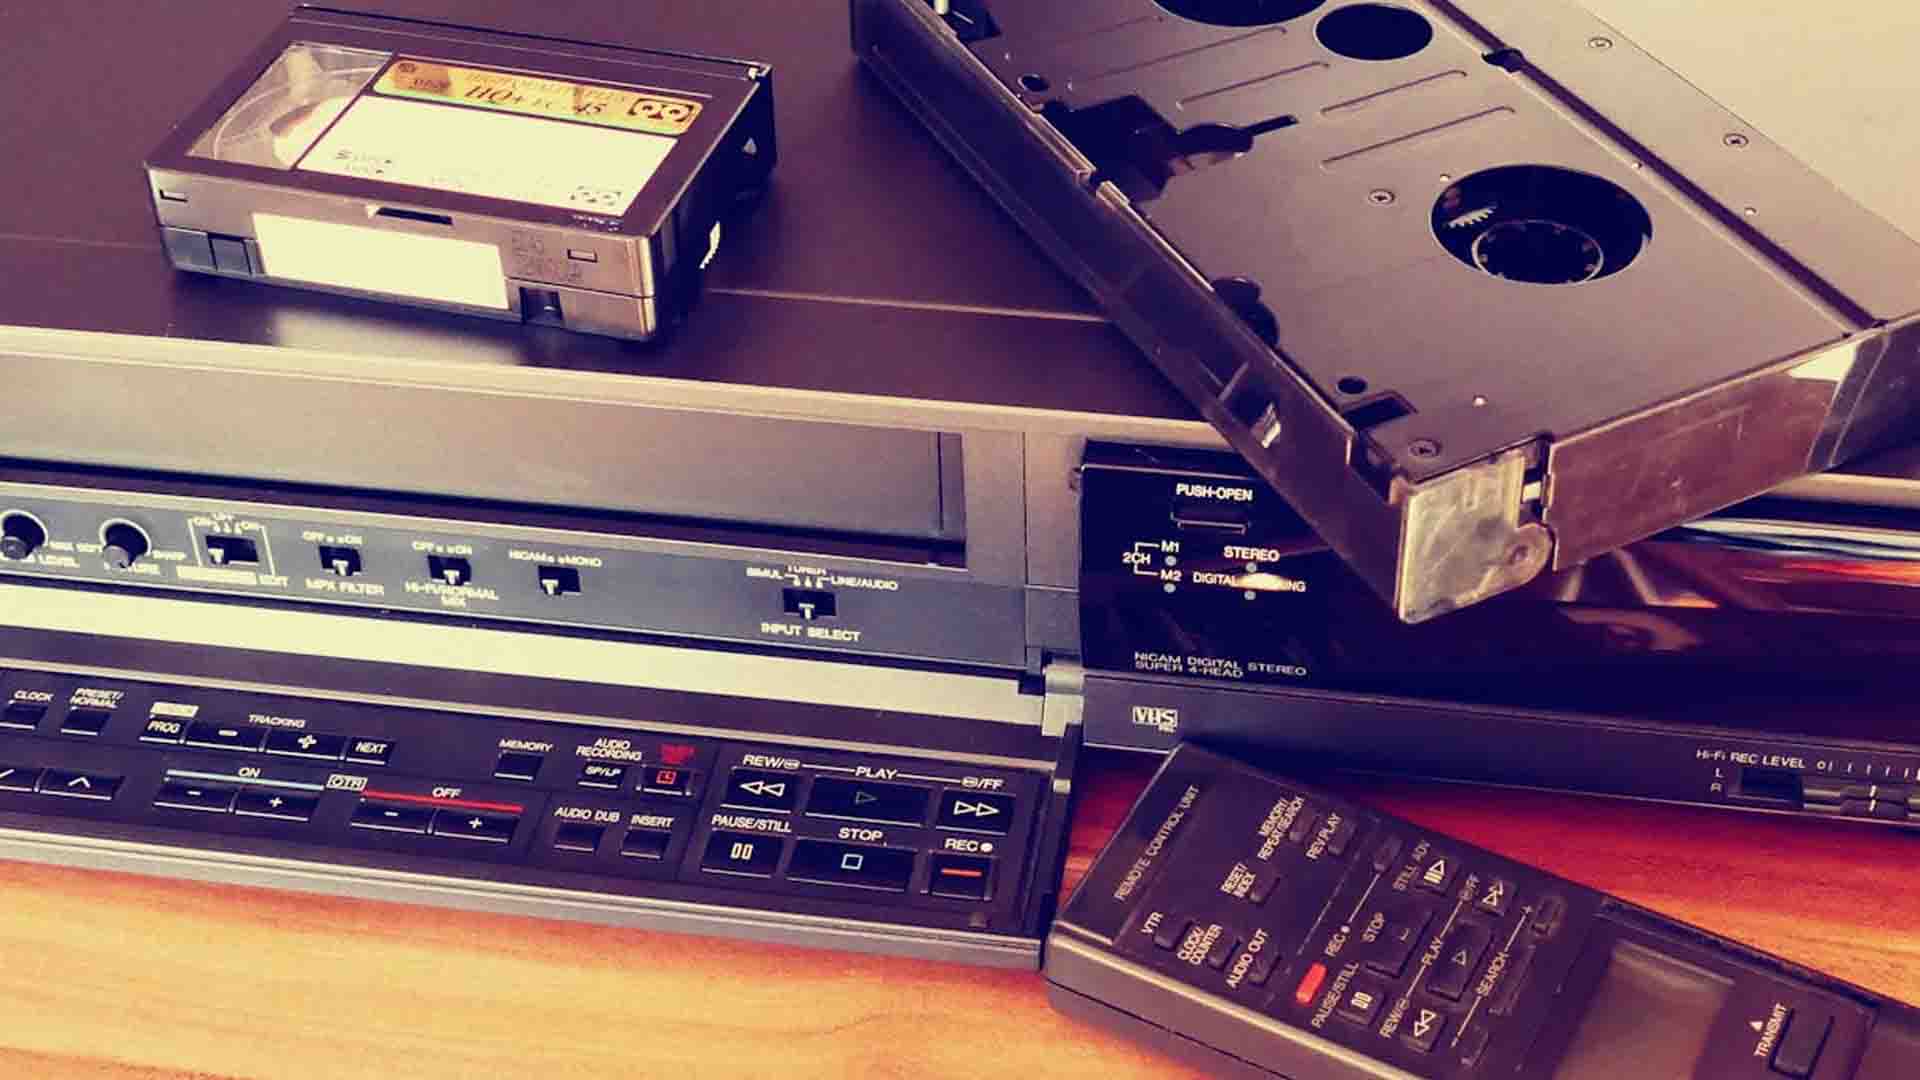
Essential Equipment Checklist
VCR: Your Gateway to the Past
A functioning VHS player is non-negotiable, and condition matters more than brand. Test any VCR before committing—play a tape you don’t care about to verify smooth playback without tracking issues or audio problems. Thrift stores, estate sales, and online marketplaces remain hunting grounds, though prices have climbed. Expect to pay $30-$100 for a working unit. Prioritize models with S-Video output for superior quality if your capture device supports it.
Video Capture Devices: The Modern Lineup
Your capture device bridges analog and digital worlds. Here are the top contenders:
ClearClick Video to Digital Converter ($80-$130): The ultimate convenience option requires no computer. Simply connect your VCR, insert a USB drive or SD card, and press record. Perfect for technophobes or those without reliable computers, though you sacrifice advanced editing capabilities.
Elgato Video Capture ($100-$150): The quality champion supports both Mac and PC, offers S-Video connectivity, and includes intuitive software. Its superior compression algorithms preserve detail better than budget alternatives. Ideal for users wanting professional-grade results without professional complexity.
VIDBOX Conversion Suite ($70-$100): The beginner’s best friend bundles everything needed—hardware, software, and clear instructions. Reliable performance without overwhelming features makes this the sweet spot for first-time converters.
Diamond VC500 ($50-$80): The budget warrior delivers functional results at half the price of premium options. Works with various third-party software options for those wanting customization. Acceptable quality for casual content, though serious archivists should invest more.
Cables: Quality Connects
RCA cables (red, white, yellow) come standard with most VCRs, but S-Video cables deliver noticeably sharper images by separating color and brightness signals. If both your VCR and capture device have S-Video ports, use them—you’ll see the difference in fine details and color accuracy. Spend $10-$15 on decent cables; cheap cables introduce interference and signal degradation.
Computer Requirements
Storage demands add up quickly. One hour of VHS footage typically consumes 1-2GB depending on compression settings. A 10-tape collection of two-hour tapes needs 20-40GB—manageable on modern computers but worth calculating beforehand. Ensure at least 8GB RAM for smooth capture and editing.
101 Setup Process
- Prepare Your Workspace
Choose a dust-free area with stable surface space for both VCR and computer. Ensure adequate ventilation—VCRs generate heat during extended operation. Organize cables before connecting anything to avoid tangles and confusion.
- Physical Connections
Connect VCR output to capture device input using RCA or S-Video cables. Match colors precisely—yellow (video), red (right audio), white (left audio). Plug the capture device into your computer’s USB port, preferably USB 3.0 for faster data transfer.
- Software Configuration
Install the manufacturer’s capture software and restart your computer. Launch the program and select your capture device as the input source. Set your desired output format—MP4 offers the best balance of quality and compatibility.
- Test Run
Before tackling precious memories, test with an expendable tape. This trial run reveals any connection issues, audio sync problems, or software quirks without risking irreplaceable content.
Pro Tips for Better Quality
Clean your VCR’s video heads using a cleaning tape before starting—dirty heads cause tracking lines and degraded picture quality. If your equipment supports S-Video, always use it over composite RCA for visibly sharper results. Check cable connections are snug; loose connections cause interference. Finally, close unnecessary programs during capture to prevent dropped frames or stuttering video.
With equipment assembled and tested, you’re ready to begin rescuing your memories from analog obscurity.
Pre-Conversion Preparation
Before inserting your first tape, conduct a thorough inspection. Examine each cassette for visible mold—it appears as white or gray fuzzy patches on the tape visible through the clear window. Check for physical damage: cracked cases, loose tape spools, or tape that appears wrinkled or stuck. Create a simple spreadsheet logging each tape’s label, estimated length, and condition. This inventory prevents confusion when you’re juggling multiple conversions and ensures nothing gets overlooked.
For dusty but intact tapes, gently wipe the exterior with a dry cloth. If you spot mold or significant damage, stop—attempting to play compromised tapes can damage your VCR’s heads and contaminate other tapes. These cases warrant professional restoration services equipped to handle problematic media safely.
The Real-Time Capture
Here’s the reality check: VHS conversion happens in real-time. A two-hour tape requires two full hours of capture time—there’s no fast-forward option. Insert your tape, rewind it completely to the beginning, then hit “Record” in your software and “Play” on your VCR simultaneously.
Stay nearby during capture, at least for the first 10-15 minutes. Watch for tracking issues (horizontal lines across the screen), audio sync problems, or complete signal loss. Most software displays a live preview, making monitoring straightforward. Once you’ve confirmed stable capture, you can multitask—answer emails, fold laundry, or prep the next tape—but check back periodically.
For efficiency, batch your workflow: while one tape captures, inspect and prep the next. Queue up several tapes in order of priority, starting with the most precious content in case equipment fails mid-project.
Post-Conversion Workflow
When capture completes, stop recording and immediately save the file with a clear naming convention: “1995_Christmas_Smith-Family.mp4” beats “VHS_001.mp4” for long-term organization. Most capture software includes basic editing tools—use them to trim blank footage at the beginning and end, or split a single tape containing multiple events into separate files.
MP4 remains the gold standard format, offering excellent compression without noticeable quality loss and universal compatibility across devices. Before archiving or disposing of the original tape, watch at least a portion of your digital file to verify quality and completeness.
Time Management Reality
Be realistic: converting 10 two-hour tapes means 20 hours of capture time alone, plus setup, inspection, and editing. You’re looking at 25-30 hours total for a modest collection. This isn’t weekend project territory—it’s a commitment spanning weeks if you’re fitting it around regular life.
The silver lining? Conversion runs unattended. Use capture time productively: work on other projects, exercise, cook meals, or simply relax knowing you’re preserving irreplaceable memories in the background.
Our VHS Conversion Services
You may want to consider Azure Production Inc. We combine professional-grade equipment with personalized service to preserve your family’s precious memories.
Our experienced technicians handle each tape with care, offering advanced restoration including colour correction, audio enhancement, and frame stabilization that DIY equipment cannot match.
We provide flexible delivery options—USB drives, cloud access, or DVD. Unlike national chains, we’re local experts who understand these aren’t just tapes—they’re your legacy.
What to Look For
Reputable services provide sample work galleries demonstrating their quality standards. Verify they have experience handling damaged tapes—some refuse problematic media while others specialize in restoration. Confirm return shipping is insured and included in pricing.
Digital delivery options matter: USB drives offer physical backup, DVDs provide playback convenience, and cloud delivery enables immediate access and sharing.
Preparing Tapes for Shipping
Label each tape clearly with your contact information and content description. Create a detailed inventory before shipping—photograph your tapes as proof of what you sent. Use sturdy boxes with adequate padding, and consider purchasing additional shipping insurance for irreplaceable content exceeding standard carrier coverage limits.
At Azure Production Inc. pick up and shipping is included in your order.
The 3-2-1 Backup Rule
Converting your VHS tapes is only half the battle—protecting those digital files requires a robust backup strategy. Follow the archival standard known as the 3-2-1 rule: maintain three copies of your files on two different media types with one copy stored offsite.
This might look like: the original files on your computer’s hard drive, a duplicate on an external hard drive, and a third copy in cloud storage. This redundancy protects against hardware failure, accidental deletion, natural disasters, and theft.
Cloud Storage Options
Google Drive, Dropbox, and Microsoft OneDrive offer consumer-friendly options with 100GB-2TB plans ranging from $2-10 monthly. For video-heavy collections, these costs are negligible compared to losing irreplaceable memories.
Calculate your needs: a typical family collection of 20 converted tapes consumes 40-80GB, easily fitting within mid-tier plans.
Future-Proofing Your Files
MP4 formats dominate today’s landscape and show no signs of obsolescence, offering the best bet for long-term accessibility. However, technology evolves unpredictably. Set annual calendar reminders to verify your backups remain accessible and uncorrupted—a five-minute check prevents devastating discoveries years later.
As new storage technologies emerge, plan to migrate files every 5-10 years, just as you’re migrating from VHS now.

Sharing and Enjoying
Create organized family video libraries with folders by year or event. Compile highlight reels for milestone celebrations—a wedding anniversary montage or graduation tribute gains emotional power from vintage footage. When sharing on social media, respect privacy by adjusting settings appropriately and obtaining consent from individuals featured prominently in recordings.
Your preserved memories deserve to be experienced, not just archived.
Troubleshooting Common Issues
Tracking Problems and Static
Horizontal lines scrolling across your screen indicate tracking issues. Try adjusting your VCR’s tracking control—usually a dial or button on the front panel. If problems persist, clean the video heads with a cleaning tape, or the original tape may be too degraded.
Audio-Video Sync Issues
When lips don’t match words, check your capture software settings. Reduce video quality slightly to ease processing demands on your computer. Close background applications consuming system resources. If sync worsens progressively throughout capture, your computer may be struggling—consider upgrading RAM or using a less resource-intensive format.
Software Compatibility on Modern Computers
Older capture devices sometimes clash with Windows 11 or the latest macOS. Visit the manufacturer’s website for updated drivers. If none exist, consider running the software in compatibility mode or using alternative programs like OBS Studio.
When a Tape Is Too Damaged
Severe mold, snapped tape, or complete playback failure signals professional help is needed—or acceptance that some content is irretrievable. Don’t risk your VCR attempting heroic rescues on clearly doomed tapes.
An Investment in Legacy
The convergence of deteriorating tapes and disappearing equipment makes this year a critical inflection point for VHS preservation. Every month you wait, magnetic particles continue flaking away and working VCRs become scarcer and more expensive.
But countless families who’ve completed this journey report the same reward: rediscovering forgotten moments that spark tears, laughter, and deeper connections across generations. A grandfather’s voice. A child’s first words. Weddings of loved ones no longer here.
Start small—convert just one tape this weekend. Experience the joy of rescue, then tackle the rest.
Remember: the best time to preserve your memories was yesterday. The second-best time is today. If you enjoyed this content and would like to consider us to transfer your tapes, be sure to give us a call at 416-850-7976 and we’ll set you right up, or visit our price list here.